Set Up The Locomotion Service
Installation
Before we can get started using locomotion, we have to install the RealityToolkit.Locomotion package first.
Make sure to always use the same source for all toolkit modules. Avoid using different installation sources within the same project. We provide the following ways to install Reality Toolkit modules:
Method 1: Using Package Manager for git users
-
Open the Package Manager using the Window menu -> Package Manager
-
Inside the Package Manager, click on the "+" button on the top left and select "Add package from git URL..."
-
Input the following URL: https://github.com/realitycollective/com.realitytoolkit.locomotion.git and click "Add".
Method 2: OpenUPM
openupm add com.realitytoolkit.locomotion
Method 3: Unity Asset Store
This option will be available soon.
Register The Locomotion Service
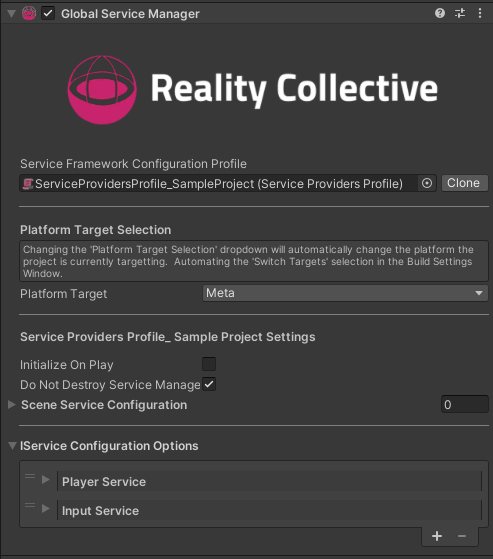
To register the locomotion service find the GlobalServiceManager game object in your scene and select it. You'll see a list of services registered with the service framework here. It should be looking something along side this:

Select the little "+" at the bottom of the service list to create a new entry. From the service type dropdown select the LocomotionService. This will pre-fill the service name, which you can leave as it is or change as you like. Select the profile picker
and assign the default locomotion service profile that comes with the package. It is configured to fit most scenarios out of the box. Last but not least, set the runtime platform to Everything, unless you want the service to only run on specific platforms. When you are done, your entry should look like this:
Congratulations! The locomotion service is now registered and ready to run. Let's move on and learn about the different kinds of locomotion available to us.